
Most people think about the savings, the clean energy, and the greener future that solar panels offer, but very few actually stop to wonder: how do the panels get onto the roof in the first place?
For roof solar, it sounds like a simple question, but the answer involves quite a bit of skill, precision, and specialist equipment.

A Guide On How Are Solar Panels Installed on A Roof
In this guide, we’ll walk you through everything you need to know about how solar panels are fixed to your roof from the very first hook to the final tidy-up. We’ll also cover the history of solar power, the best time of year to get your panels fitted to the roof, and why choosing a certified installer matters more than you might think.
A Brief History of Solar Power
Solar energy isn’t a new idea, far from it. Humans have been harnessing the power of the sun for thousands of years. As far back as the 7th century BC, people used shiny objects to reflect sunlight and start fires. By the 3rd century BC, the Greeks and Romans had refined this idea further, using polished mirrors to light torches during religious ceremonies. The sun, it seems, has always been a source of wonder and utility. Today, we can harness that power more efficiently, but many homeowners ask how are solar panels installed on a roof and what the process involves.

But the real turning point came in 1839, when a 19-year-old French physicist named Edmond Becquerel made a discovery that would change the world. While experimenting with metal electrodes in a liquid solution, he noticed that the cell produced more electricity when exposed to light. He’d stumbled upon what we now call the photovoltaic (PV) effect, the process by which light is converted directly into electricity.
It wasn’t until 1954, however, that the first practical solar cell was born. Scientists Daryl Chapin, Calvin Fuller, and Gerald Pearson developed the silicon PV cell at Bell Labs, the first solar cell powerful enough to run everyday electrical equipment. From there, solar technology grew rapidly. Today, solar panels power everything from satellites orbiting Earth to the homes on your street.
Despite all of this progress, solar energy is still out of reach for many households. That’s exactly what we’re here to change. At Solar Panel Funding, we believe everyone should have access to clean, affordable energy, and we’re committed to making that a reality.
Want to understand the science behind how solar panels work? The National Grid has a great explainer here.

So, How Does a Solar Panel Actually Work?
Before we get into the installation process, it helps to understand the basics of what a solar panel does. Each panel contains what are called photovoltaic (PV) cells, usually made from silicon, which convert sunlight directly into electricity. This electricity comes out as DC (direct current), which is then converted into AC (alternating current) by a device called an inverter, making it usable in your home.
The result? Every time the sun shines, even on a cloudy day, your panels are generating power. Instead of drawing electricity from the grid and paying for every unit, you’re using energy that’s essentially free. Solar panels produce clean, renewable energy, and unlike gas boilers or traditional power stations, they create zero greenhouse gas emissions during operation. Better for your wallet, and better for the planet.
Does My Roof Type Affect the Installation?
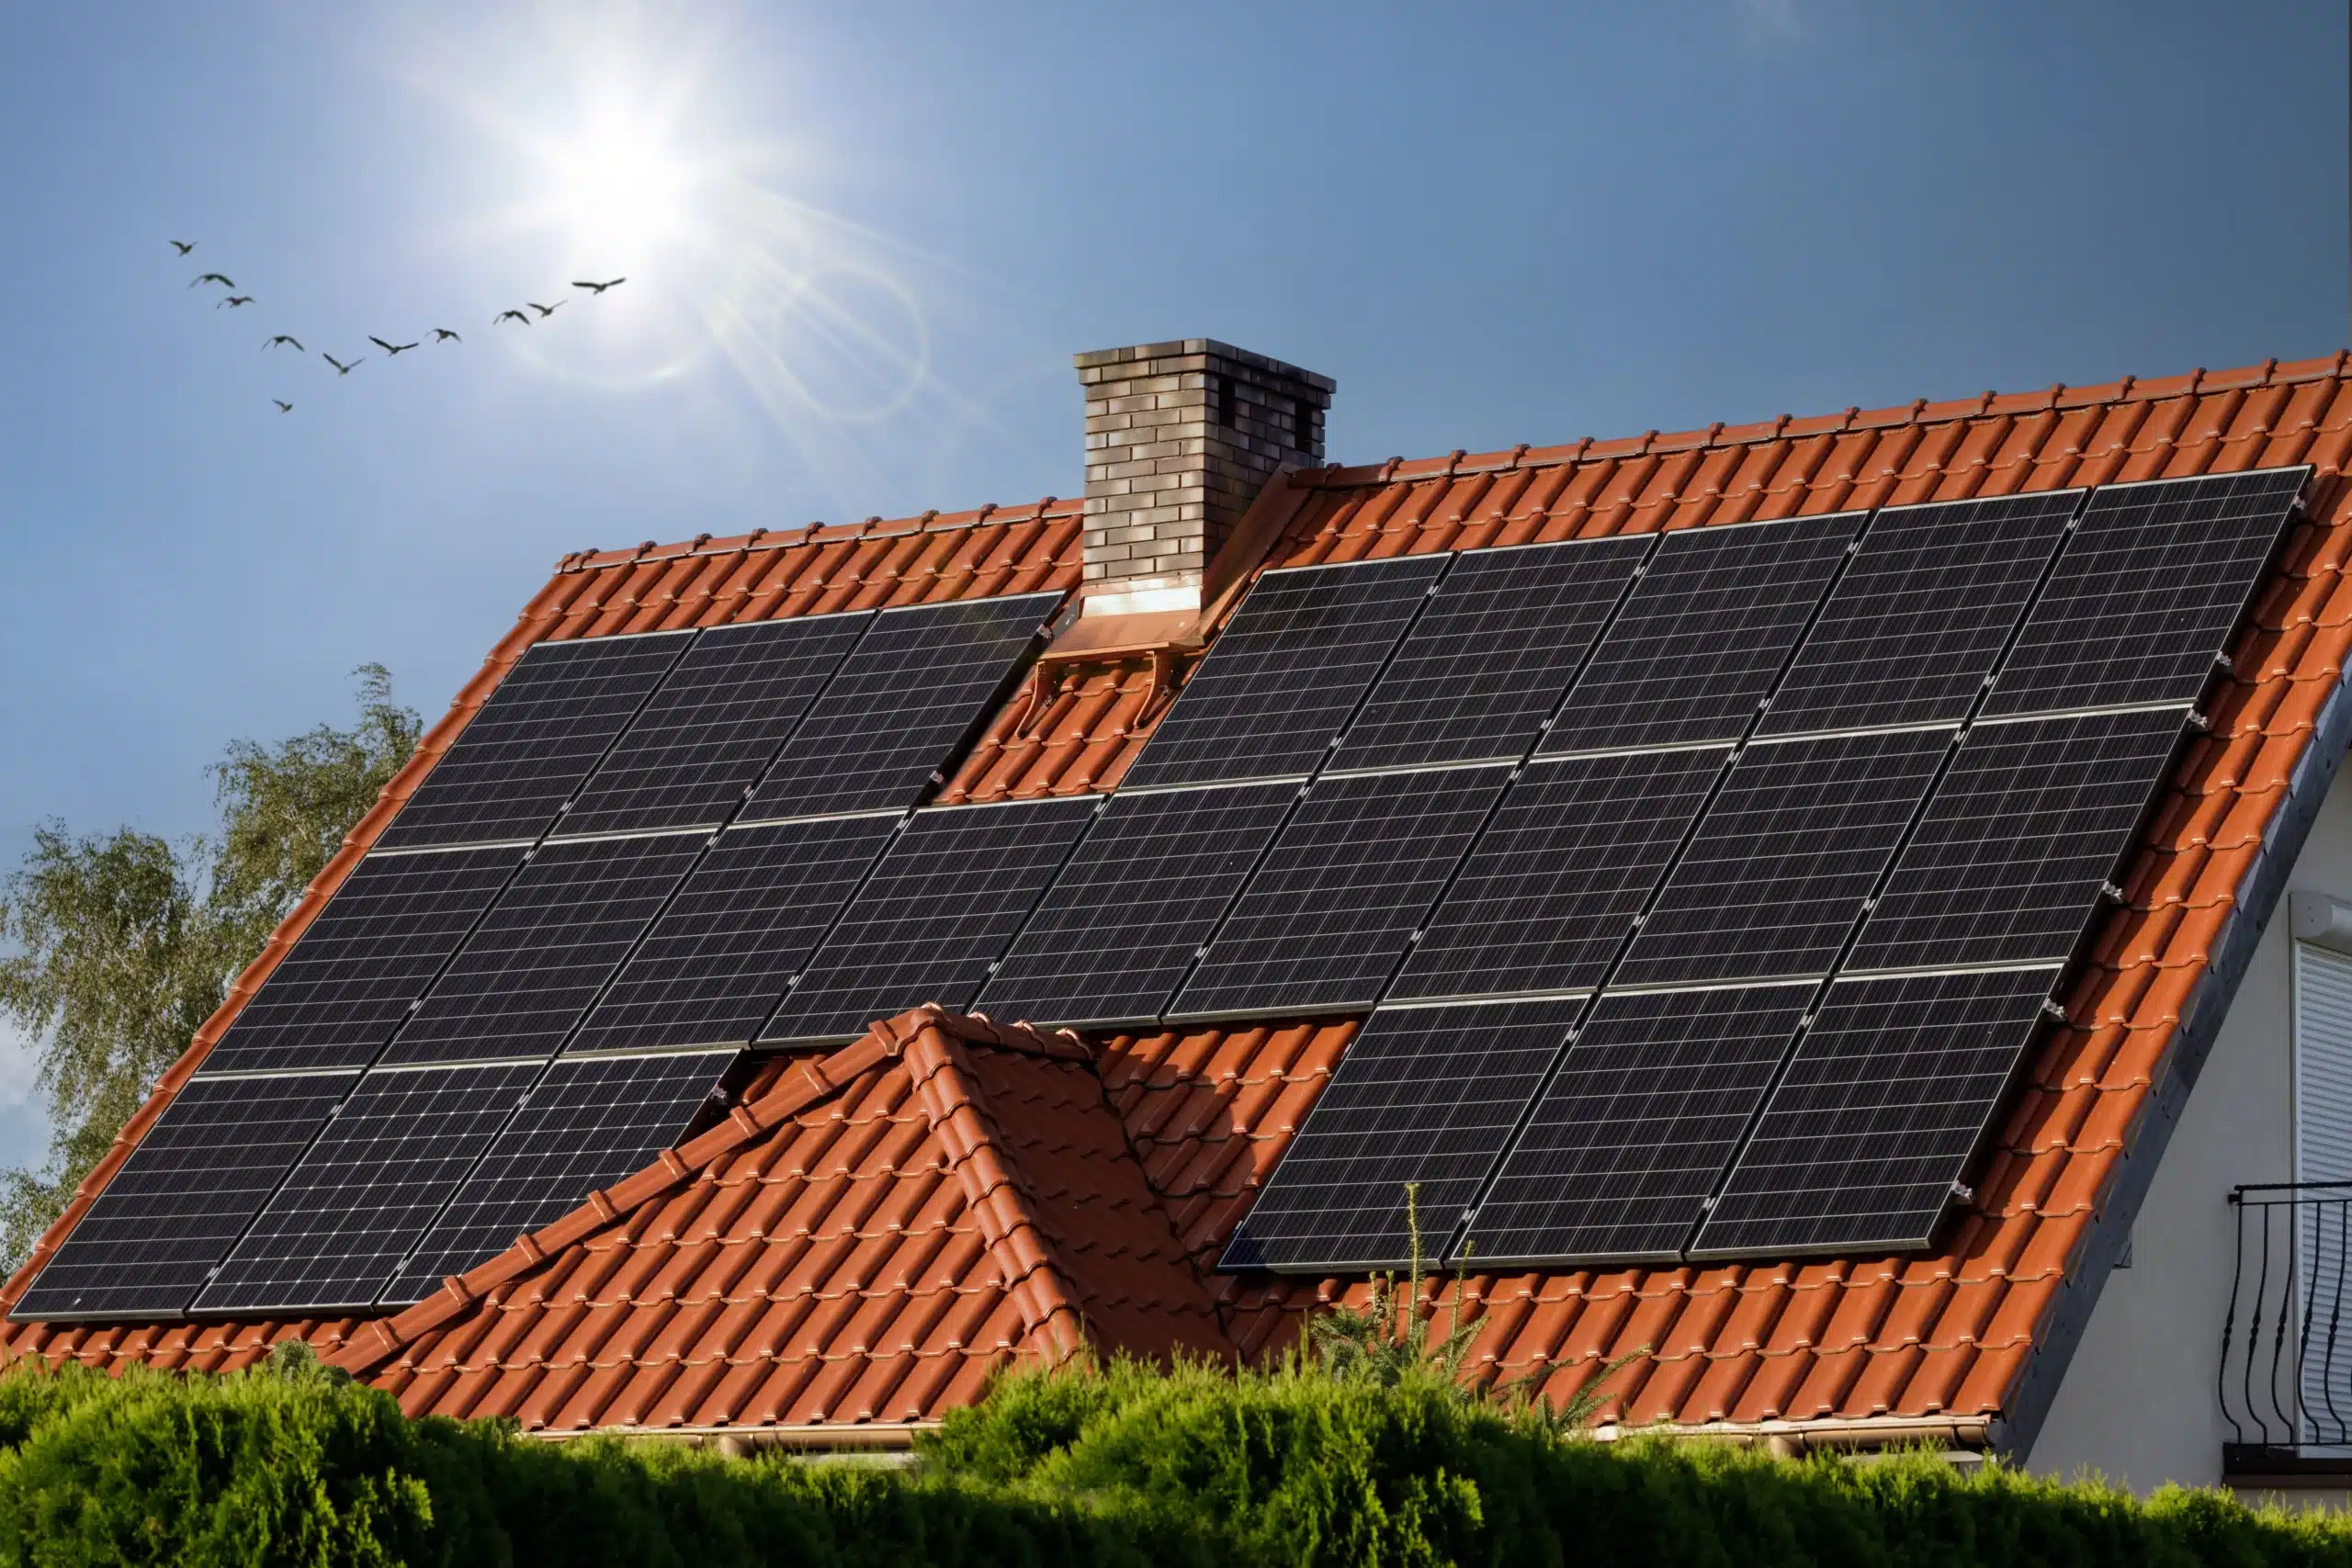
Yes, and it’s one of the first things a professional installer will assess. The most common roof type in the UK is a pitched tiled roof, and the good news is that this is also the most straightforward for solar panel installation. However, the specific type of tile (concrete, clay, slate, and so on) will affect the mounting hardware and method used.
Flat roofs, metal roofs, and older or more fragile roof types may require different approaches or additional structural consideration. This is one of the key reasons why a professional survey is so important before any work begins.
A qualified installer will assess your roof’s condition, angle, and orientation to determine the best approach, including whether an east west orientation could still generate strong output, and to make sure the installation is safe and built to last.
The Energy Saving Trust has a helpful overview of what to expect during a solar installation survey.

The Hook and Rail System: The Backbone of Every Installation
At the heart of almost every roof-mounted solar installation is what’s known as a hook and rail system. It’s the framework that holds your panels securely in place, and when it’s done properly, it can last as long as the panels themselves (typically 25 years or more).
Here’s the basic concept: metal hooks are fixed directly to the structural timbers (rafters) inside your roof. These hooks then carry horizontal rails, long aluminium tracks which act as the platform your solar panels sit on. The panels are secured to the rails using clamps. Some installers use universal clamps, while others use a combination of middle clamps and end clamps, depending on the panel layout. Finishing touches like rail end caps, bird protection mesh, and cable management ties are added to complete the installation neatly and professionally.
It’s worth noting that the hook and rail system is specifically engineered not to damage your roof or compromise its weatherproofing. According to MCS (Microgeneration Certification Scheme) guidelines, the brackets used to fix a solar PV system to a tiled roof must not impose any load on the tiles themselves. Where tiles need to be adjusted, they are either notched or flashed appropriately to maintain the weathertight seal. In short, a properly designed and installed solar panel system should not cause any lasting changes or structural issues to your roof.
Planning Permission
Most domestic solar panel installations in the UK fall under permitted development rights, meaning you usually don’t need planning permission to fit panels on your roof. However, there are exceptions (such as listed buildings, conservation areas, or certain protected landscapes) where you may need to check with your local council before proceeding. It’s always best to confirm planning requirements before booking your installation.
How Are Solar Panels Installed on a Roof?
A Step-by-Step Walkthrough
So, how are solar panels installed on a roof space in practice? Here’s what a typical installation day looks like on a standard tiled roof.
Step 1: Installing the Roof Hooks
Everything starts here. Before a single panel goes up, the installer needs to fix the roof hooks securely to the rafters and the structural timber beams inside your roof. To locate these, the installer will carefully lift some tiles and expose the felt and battens underneath.

Once the rafters are found, the installer will take precise measurements to determine the best mounting positions for the hooks. This isn’t a random process; the number and placement of hooks depend on factors including the weight of the mounting system, the number of panels being installed, the spacing of your roof’s rafters, and the local wind speed for your area. Typically, hooks are fixed to every other rafter, though this varies depending on the roof’s design.
Each hook is fixed to the rafter using the screws specifically supplied with the system. The hook and fixings are engineered to work together and must always be used as a matched pair. Getting this step right is critical. It forms the entire load-bearing foundation of the installation.
Step 2: Grinding and Re-fitting the Tiles
Once the hooks are in place, the installer will check how the tiles sit around each hook. In most cases, the roof tiles need to be slightly modified so they can lie flat without rocking or leaving gaps. This is done by carefully removing the affected tiles and grinding down a small section of the underside to allow the hook to pass through cleanly.

The tiles are then re-fitted over the hooks. This step is important for maintaining the weathertight integrity of your roof. Done correctly, the tiles should sit just as snugly as before, with no gaps or loose areas that could allow water ingress. It’s delicate, precise work that requires experience and care.
Step 3: Fitting the Rails
With the hooks firmly in place and the tiles re-fitted around them, the aluminium rails can now be installed. These rails are attached horizontally across the hooks, spanning the width of the area where the panels will sit. The rails are what the solar panels themselves will ultimately rest on, so they need to be level, correctly spaced, and precisely aligned.

Rail spacing is calculated based on the dimensions of the specific panels being installed. Most rails are silver in colour, though black rails are also available for a more discreet finish. Once the rails are secured, the installer will double-check alignment before moving on.
Step 4: Fitting the Solar Panels
Now, for the satisfying part, the panels go on. Each solar panel is carefully lifted onto the rails and positioned correctly. Once in place, the panels are secured using clamps that grip both the panel frame and the rail beneath. This holds each panel firmly without the need to drill through the panels themselves.

Installers work methodically across the roof, fitting panels one by one and checking the alignment as they go. Safety is paramount throughout this stage. Working at height with large, heavy panels requires training, experience, and the right equipment. This is very much not a job for a DIY enthusiast on a ladder.
Step 5: Finishing Up and Tidying
Once all the panels are fitted and secured, the installer will complete a series of finishing tasks that make the difference between a good job and a great one. Rail end caps are fitted to the open ends of the aluminium rails to protect against the elements and give the installation a clean, professional appearance. Bird protection mesh is often installed along the bottom edge of the panels to prevent birds from nesting underneath, a surprisingly common problem that can cause damage over time.

All DC cables running from the panels down into the property are neatly managed and secured using cable ties or clips, keeping everything tidy, safe, and protected from the weather. Inside the property, the installer will connect the system to an inverter (which converts the DC electricity from the panels into usable AC electricity for your home) and carry out a full system check to make sure everything is working correctly before they leave.
A thorough installer will also walk you through how to read your new system’s output and answer any questions you have about getting the most from your solar panels.
When Is the Best Time of Year to Get Solar Panels Installed?
Here’s a question we get asked a lot. The short answer is: any time is a good time, because solar panels work all year round, even on overcast winter days; they’re still generating electricity. That said, if you’re looking to get the most out of your system from day one, there is a sweet spot.
Late Winter to Early Spring: The Ideal Installation Window
Getting your solar panels installed between February and May puts you in the best possible position. By having everything up and running before the longer, sunnier days of late spring and summer arrive, your system will be generating at or near its peak output right from the start. In the UK, solar energy output rises significantly from late spring through summer, so the earlier your system is operational, the sooner you start maximising your energy savings and financial returns. Solar panels should be positioned to catch as much sunlight as possible, ideally on a south facing roof to maximise energy production.
Why Winter Installations Have Their Own Advantages
Don’t be put off by the idea of installing in autumn or winter. In fact, there are some real benefits. Installation companies are typically much quieter during the colder months, which means shorter waiting times, better availability, and sometimes more flexible scheduling. If you’ve been thinking about going solar, getting booked in during the winter months could mean your system is up and running well before your neighbours, who wait until spring.
Why MCS Certification Matters for Your Solar Installation
If there’s one thing you should look for when choosing a solar installer, it’s MCS certification. MCS stands for the Microgeneration Certification Scheme, an independent quality assurance scheme that sets strict standards for the installation of solar panels and other renewable energy technologies in the UK.
MCS-certified installers are required to follow rigorous guidelines covering everything from system design and equipment quality to workmanship and aftercare. This isn’t just a badge, it’s a guarantee that the person fitting your solar panels knows exactly what they’re doing and is accountable to a recognised industry standard.
Importantly, MCS certification is often required to access government funding and incentive schemes. For example, to benefit from the Smart Export Guarantee (SEG), which allows you to sell surplus solar energy back to the grid and earn money from it, your installation must be carried out by an MCS-certified installer.
At Solar Panel Funding, we are MCS certified, and every installer we work with holds the same certification. When you book through us, you can be confident that your installation will be carried out safely, professionally, and in full compliance with industry guidelines.

Ready to Get Solar Panels on Your Roof?
So, how are solar panels installed on a roof? As you can now see, it’s a careful, multi-stage process that requires skill, the right equipment, and a real attention to detail. From fixing the structural hooks into your rafters to grinding and re-fitting tiles, fitting the rails, mounting the panels, and finishing everything off neatly, a proper solar installation is far more involved than it might appear from the outside.
When installed correctly, solar panels cause no lasting damage to your roof, have a clean and professional appearance, and begin reducing your electricity bills from the first sunny day. A well-installed solar PV system can generate clean energy for 25 years or more, making it one of the smartest and most cost effective home improvements you can make.
If you’re thinking about making the switch to solar, now is a great time to explore your options. At Solar Panel Funding, we can help you find the right funding, the right system, and the right certified installer for your home. Get in touch with our team today to find out what’s available in your area and take the first step towards free, clean energy.
Found this guide helpful? Share it with a friend or family member who’s been thinking about solar, and feel free to leave a question in the comments below. We’d love to hear from you.
Do solar panels damage your roof?
No, not when they’re installed correctly. A professional installer fixes the mounting hooks directly into the roof’s structural rafters, not the tiles themselves. Tiles are carefully lifted, modified if needed, and re-fitted to maintain the roof’s weatherproof seal. When installed to MCS standards, solar panels should not cause leaks or long-term roof damage.
Can solar panels be installed on any type of roof?
Most roof types are suitable, but the installation method can vary. Pitched tiled roofs are the most straightforward, while flat roofs, metal roofs, or older properties may require specialist mounting of solar systems or additional structural checks. This is why a professional roof survey is always carried out before installation.
What holds solar panels in place during strong winds?
Solar panels are secured using a hook and rail mounting system that’s designed to withstand local wind loads. Installers calculate hook spacing based on your location, roof structure, and panel size. When installed correctly, panels are extremely secure—even in high winds.


